Overview
Platform.ai is an incredible tool that makes it easy for anyone to quickly label large datasets of images. But wouldn't it be great if platform.ai could also work with a similarly popular type of media – video? Support for video would be especially useful since it is more complicated to work with video compared to just images.
Working with videos instead of images presents unique challenges. Larger file sizes require more processing power and storage. Successive frames are likely to be similar, leading to high correlations between images within a video - which can magnify bias in a model. Representing the salient content of several videos on a screen all at once presents UI challenges.
A simplified way to handle videos is to treat them as an unordered collection of image frames to be loaded into platform.ai. Of course, we can't load every single frame since a 2-minute video typically contains up to 3600 images (30 frames per second * 120 seconds = 3600 frames). By assuming that very little happens in the span of a few seconds, we can drastically reduce the number of images. For our baseline model, we chose to keep 1 frame every 2 seconds, which represents a 2-minute video down in 60 images. This frame rate was chosen because YouTube displays one frame every two seconds for the preview when you hover the cursor over the scrollbar - in the author's subjective experience, this is usually good enough to locate a particular section of video.
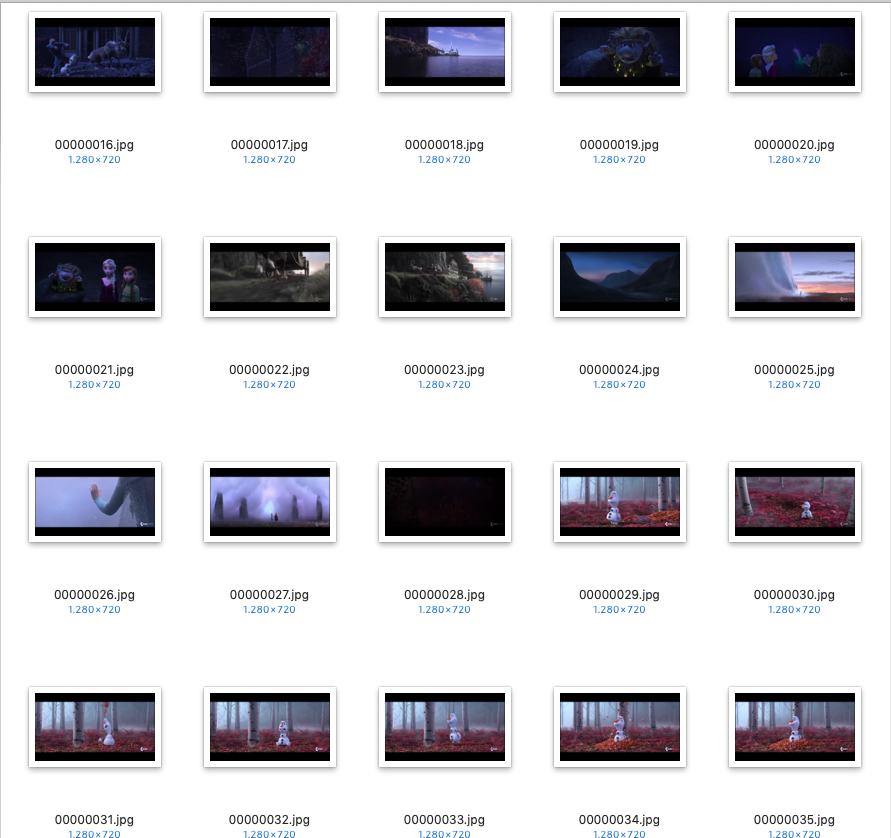
We extracted the frames from the Frozen 2 trailer at one frame every two seconds. If you know the trailer it is easy recognise the scenes even from small thumbnails.We uploaded the frames from the Frozen 2 trailer to platform.ai and could see clustering video frames is an easy task for platform.ai
While this does work, much is lost by the drastic simplifications made. We will spend the rest of this article exploring more sophisticated approaches to extracting better keyframes.
Keyframe extraction
We want to show the user as few images as possible, while preserving most of the important information. To do this we tested different keyframe extraction methods trying to find a good balance of overall computing time, quality of returned frames, how much detail is lost and potential additional parameters to put in.
Video Encoding (I/P/B frames)
Most videos are stored as encoded files that store the change rather than the frames itself as this reduces file size. Encoding software does save off special frames (I, P, and B frames) that contain all the information for this frame so that in the case of corrupted only a small part of the video is unusable. Often these frames are chosen at sections with the biggest change and extracting them should give us good representations.
This method is really fast but can only return the fixed number of I/P/B frames.
How many and where in the video these frames are saved is also very heavily dependent on the encoding process and often the key frames aren’t dynamic, meaning sections with little action will likely have a similar number of key frames as action intensive scenes.
Representative Frames
This is a fast method which utilises ffmpeg’s function to determine a keyframe of a batch of a certain size. The batch size controls how many keyframes are returned. Speed isn’t too different from just extracting special frames but you can change how many you want returned. Some problems are that it is not clear how ffmpeg determines those frames and, like the Video Encoding method it will only return one frame per batch thus not treating action intensive scenes differently to sections with little movement.
Pixel Distance
The absolute values of the pixel difference of successive frames gets summed up giving us an indication of change over time. If the change is too little and the value drops below a certain threshold we merge frames to a segment. The middle frame is used to represent the whole segment.
Histogram Distance
The Histogram Distance method is similar to the Pixel Distance method, but instead of calculating the difference using the pixel values, the histogram of the gray-scale of each frame is computed first and the difference of histograms is used.
Here the threshold value was chosen to be the sum of the mean and standard deviation but this can be adjusted to get the preferred number of key frames.
Spectral Clustering
Spectral clustering is a graph based approach. The nodes represent the features of that frame and edges would be observations of features. First, we calculate a similarity matrix from the graph and present the low dimensional space by using eigenvalues and eigenvectors of the graphs. We can make a cut and create a cluster from that cut. This is the basic concept of spectral clustering. In the video analysis it calculates the segments of each transition and create a cluster based on their images. Now to identify key frames we calculate the entropy of each cluster and find the maximum value from that and put that cluster as a key frame cluster. This approach is complicated. It is generally used to find locality of features and lower the dimensions. This method works well for image segmentation but in most cases it is too inefficient.
Cluster Image Embeddings
This method works by getting embeddings of all the frames by running inference on a pretrained ResNet model using the activations before the softmax layer as embeddings. The next step is to develop a kMeans model on these extracted image embeddings, with the number of clusters being a function of video length. The problem with that method is that it is too slow/computationally expensive.
DeepCluster
Similar to all previous clustering methods this one uses a pretrained ResNet to get image embeddings and uses these to cluster the images using k-means clustering. The returned clusters are then used to train the model. The whole process is repeated for a given number of n epochs. This method promises better key frames but takes even longer to process making it unusable as long as speed is important.
Differential Evolution Algorithm
Differential evolution (DE) is a method that optimizes a problem by iteratively trying to improve a candidate solution with regard to a given measure of quality. The DE algorithm works as a general framework that can use any metrics that measure the similarity/differences between a set of images. We have tried it with SSIM Index (Structural Similarity Index) and Image Entropy difference. In our trials we observed that SSIM gives much better results than entropy, at least for this implementation. One downside of this approach is that the number and quality of the key frames are dependent on the similarity metric, the population size and the number of iterations and being an iterative process this is not built for speed.
Results
Coming back to our task, we have to choose one of these methods based on speed and complexity of the method and quality of returned key frames. We decided to use the pixel difference approach with the means as the threshold to get segments and use the middle of each segment as a keyframe. One of the main reasons was speed and low computing power needed for this method. All the clustering approaches are very slow, thus couldn’t realistically be used to process hours of video footage. Also because computing time increases exponentially to the number of frames with clustering approaches.
The criteria of quality is much harder to argue with, as quality isn’t clearly defined and very user task dependent. We came to the conclusion that is was more important to keep more information and should only solve the baseline model’s issue of showing too many images that look the same and too few for sections with fast action (reason for that being the constant time resolution). We didn’t bother much about a few redundant frames, as platform.ai can handle them beautifully. The more advanced approaches work best for extracting few high quality key frames but the more frames we want returned the less significant the differences between all the methods gets. Which is the other reason for choosing the pixel distance approach as this just gets rid of consecutive frames that look too similar. Using the mean as the threshold helps handling both high movement and low movement videos without needing to adjust the threshold.
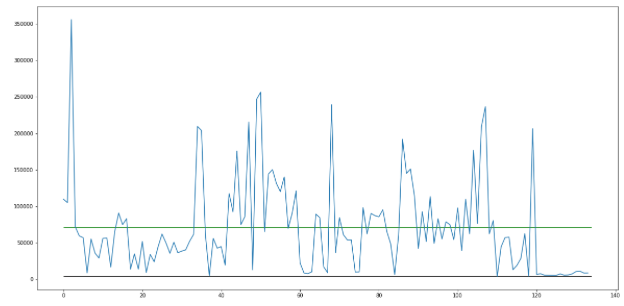
Displayed is a graph of change in a video over time. The green line shows where the mean is. Everything below that line would be merged into a segment and everything above with a lot of movement would be displayed to the user.
To compare the pixel difference approach to our baseline we collected a dataset of 75 youtube video about fitness and yoga.
We extracted every other frame of all the videos resulting in 9325 frames that we uploaded to platform and labelled them according to “on hands and knees”, “sitting”, “not identifiable”, “standing”, “on back”, “two or more people”.
To test our new method we extracted two frames per second giving us 4x as many frames compared to our baseline (37300), which should give us much more detailed results.
After calculating segments we ended up with 11.472 key frames. This is a reduction of 3,25 times when extracting 2 FPS. We still end up with 23% more frames compared to our baseline but the overall quality should be much better. After uploading them to platform while going through the same labelling process we could see a higher diversity in frames and platform had an easier time sorting out the differences resulting in a higher accuracy after fewer training iterations.
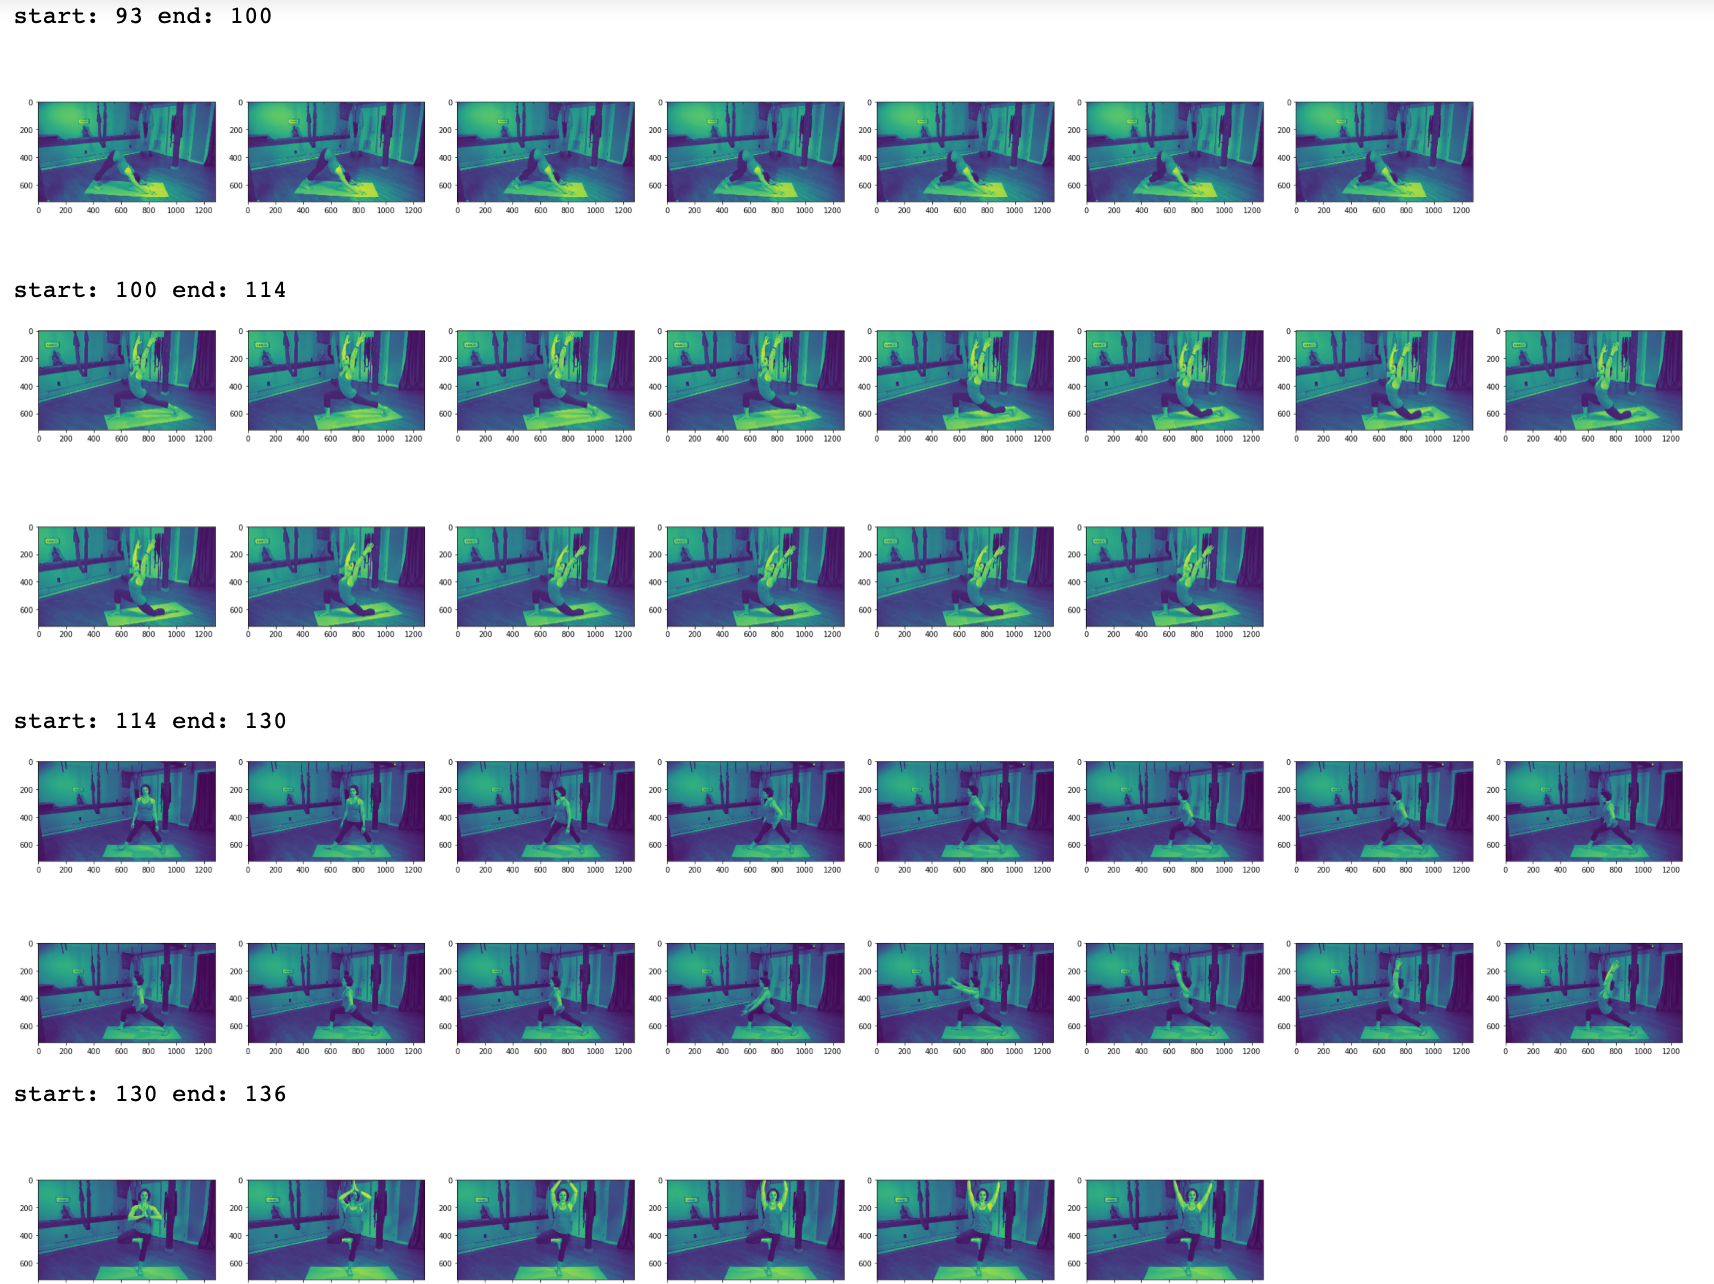
Shown are segments of one example video of the excercise dataset. Scene cuts where segmented nicely. The middle frame of each segments will be given to the user.
The colours are not dispayed correctly; the images' red and blue channel are reversed. We tried flipping the colours, but it was easier to work with reversed colours.
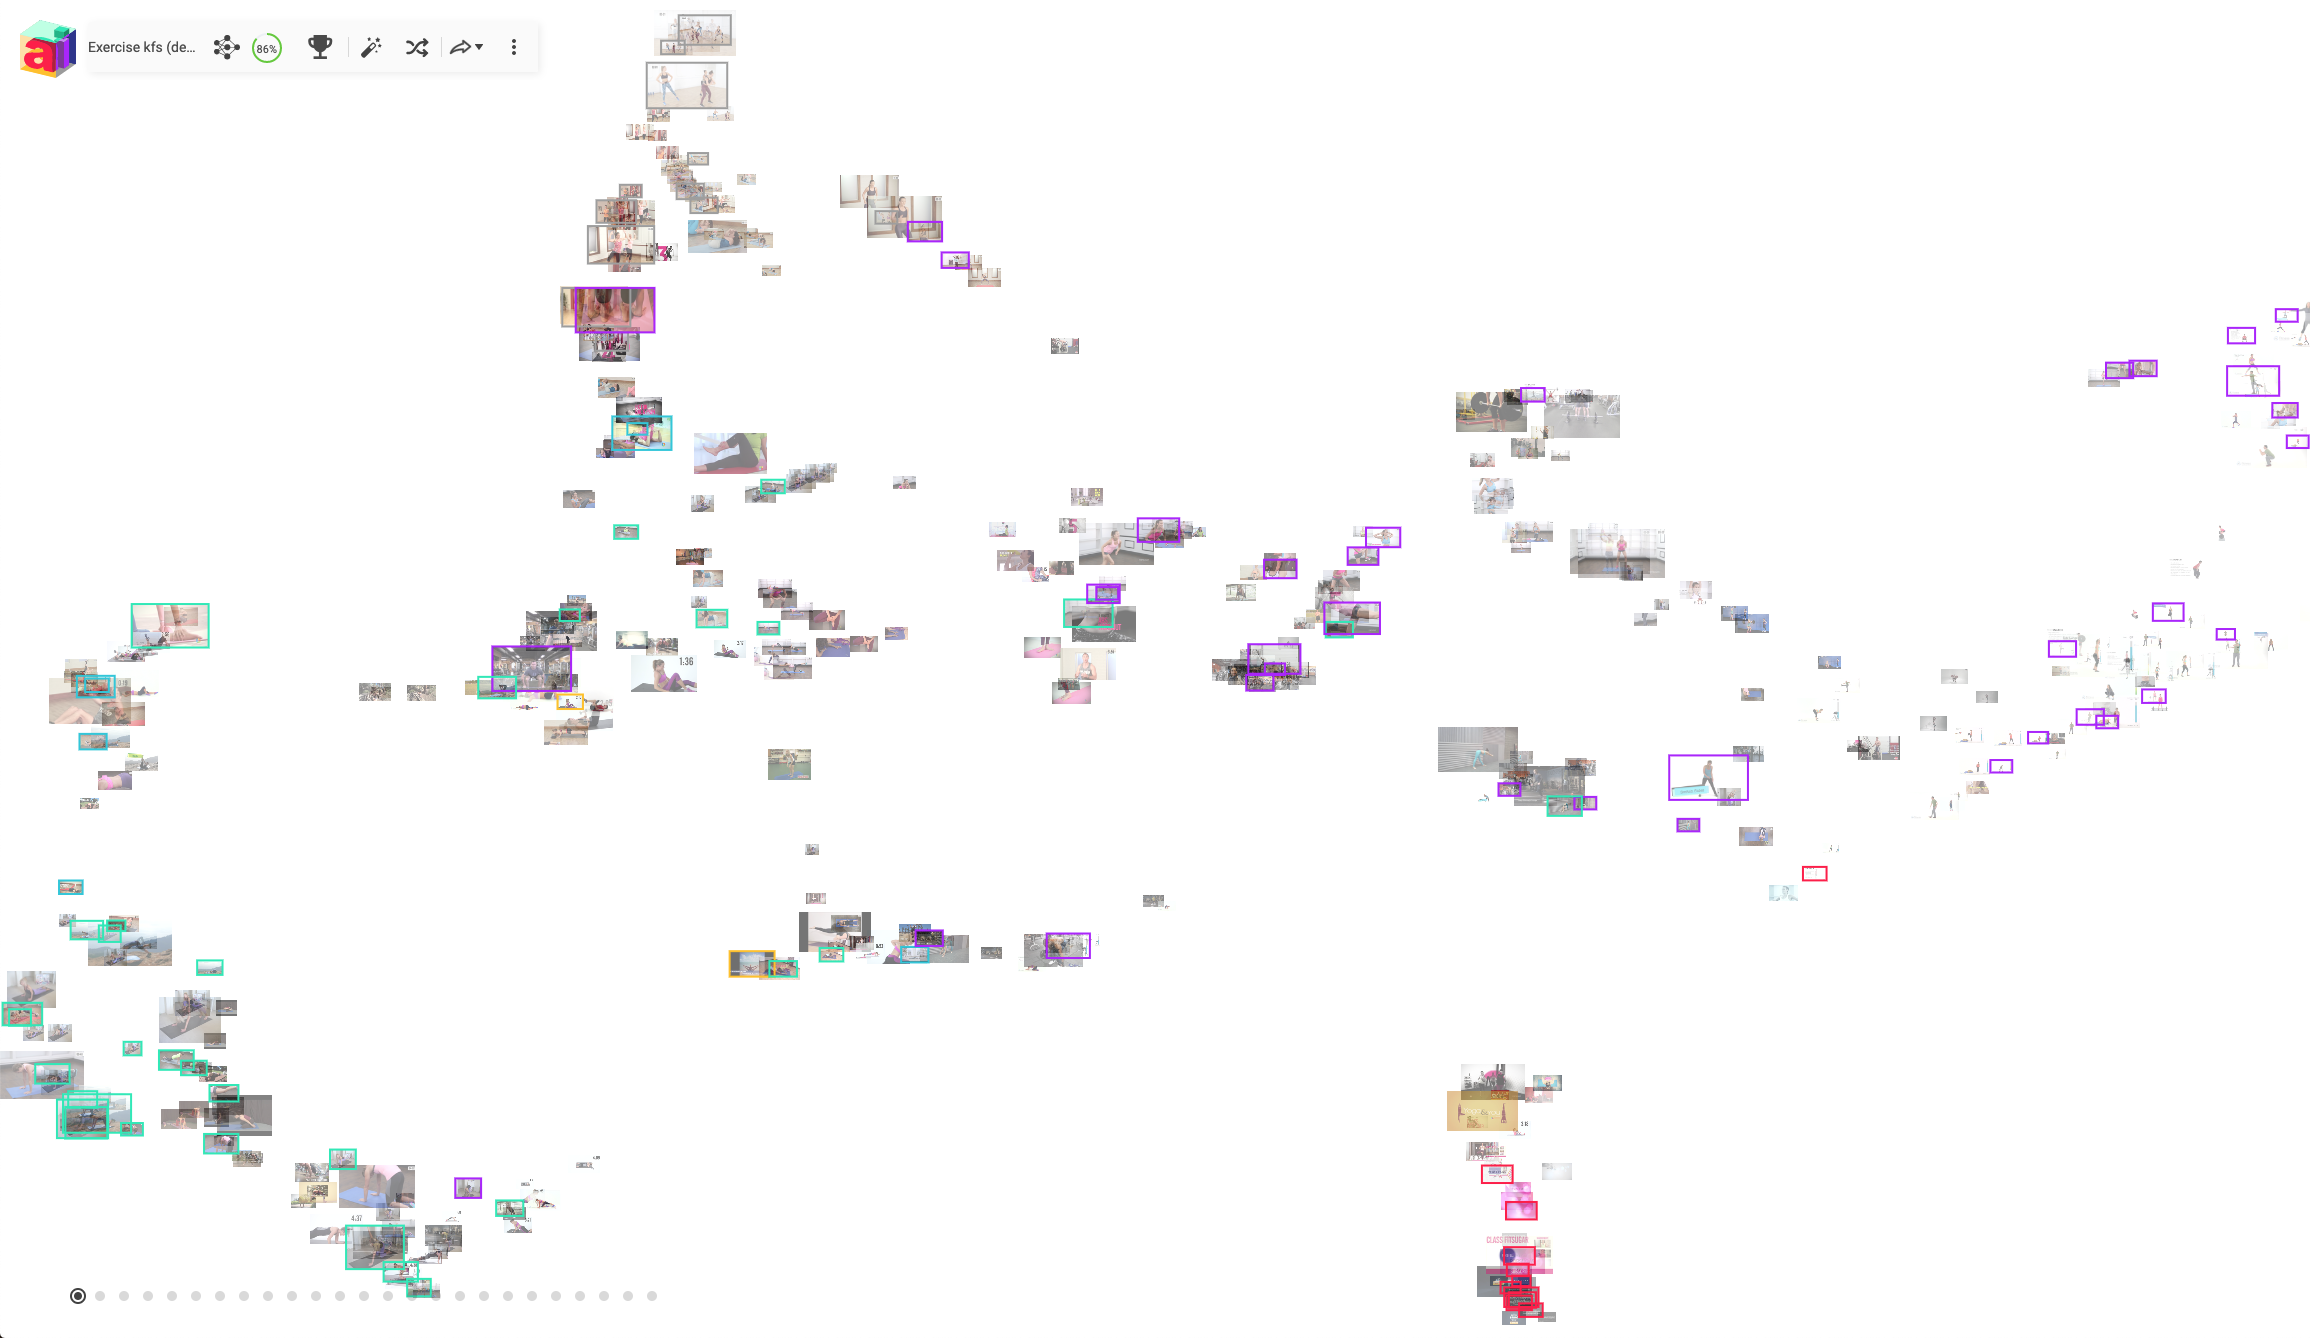
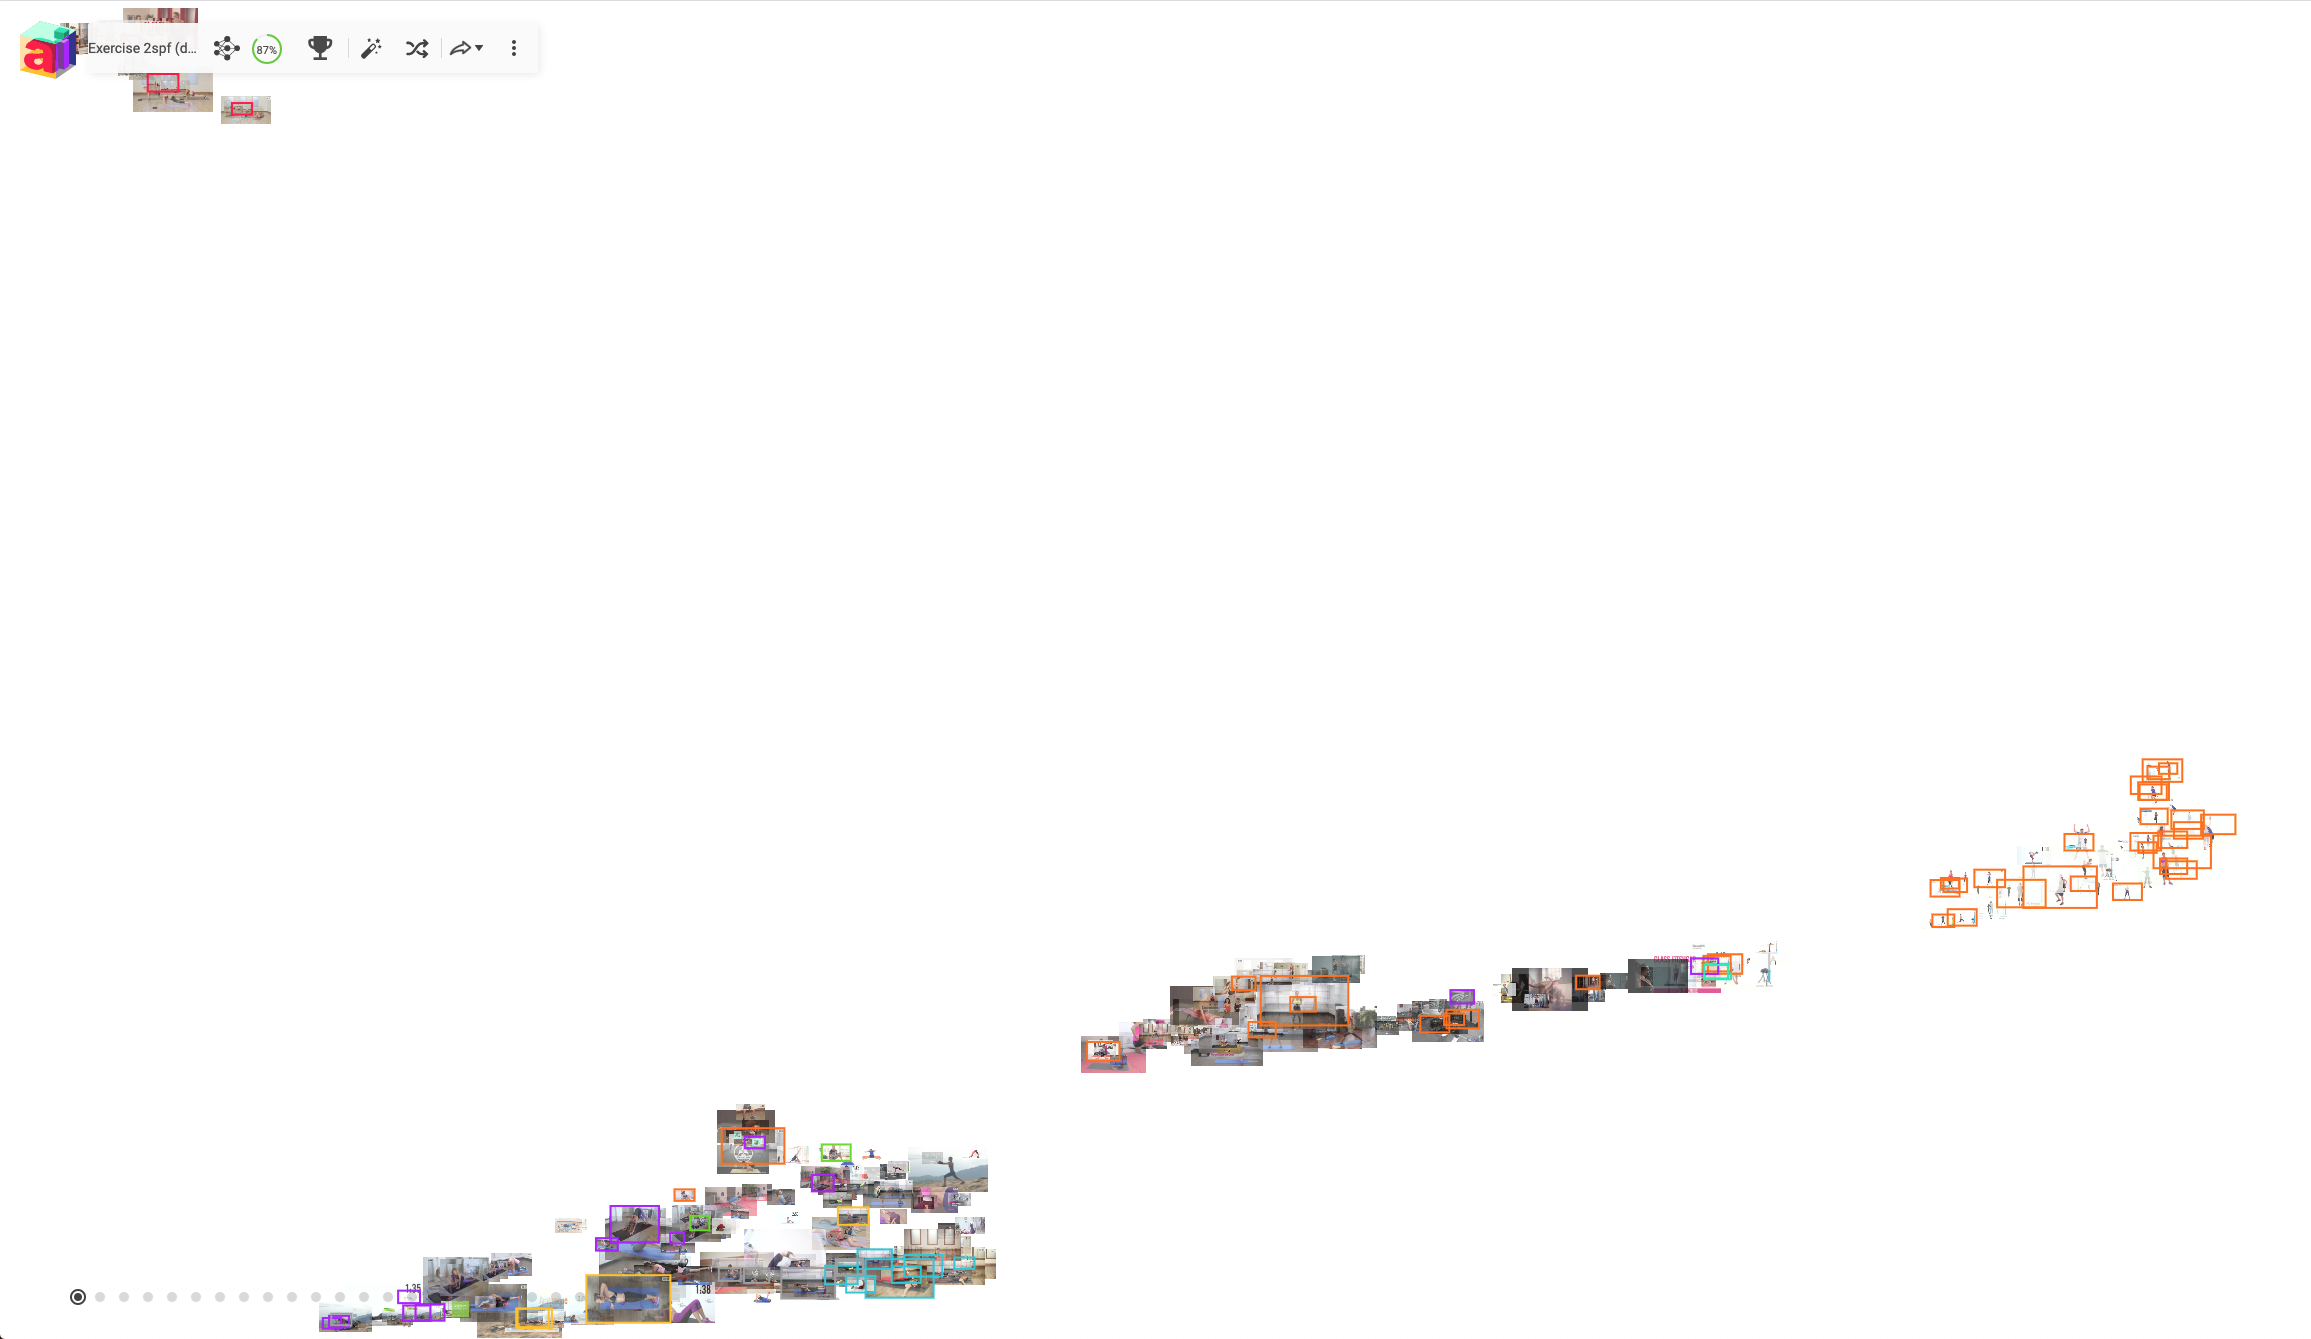
This is our baseline loaded into platform.aiThis is our improved set of images uploaded to platform.ai. While the accuracy difference isn't very big, platform.ai has an easier time sorting the images making labelling more efficient.
Experiments
We tried out different ideas that could be additional features to make it easier to work with videos in platform.ai. First we created a simple visualisation tool in a jupyter notebook that shows images scattered across the screen in a similar fashion as platform to make testing and modifying easier. First thing we tried was connecting consecutive frames with a thin line. This allowed tracing and helped finding mistakenly distanced or accumulated frames or well clustered scenes. Using key frames to represent segments partly solved the issue of disconnected frames from one scene. We only tested this with one video and displaying this with multiple videos or a very long one could possibly be confusing. Still, this could be a useful feature as an additional option but it should be turned off per default.

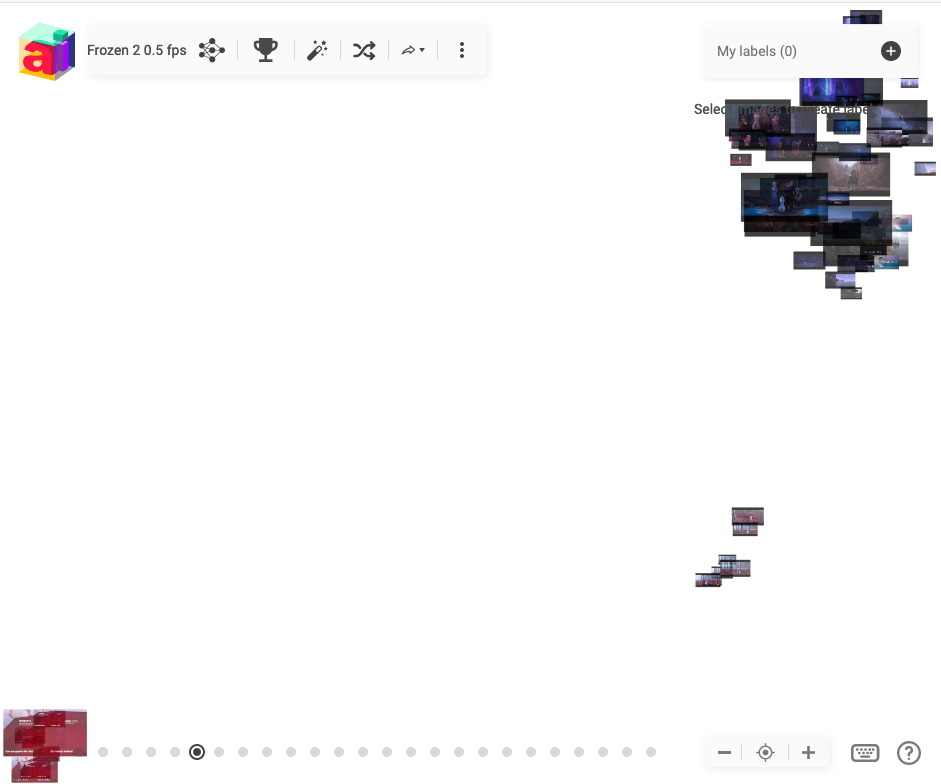
We used the same Frozen 2 trailer images for this demo. The lines can help to give more structure. But we are only dealing with about hundred pictures in this case.
Next thing we tried was adding time as a feature. For one video we added a number from 0 to 1 to every frame depending on the progression of the frame in the video. So the reduction using t-SNE considers time. This arranged all the images considering time and made it much easier to get a good overview about the order of events making the labelling in a more consistent way easier. Unfortunately, this approach only makes sense when working with one video.
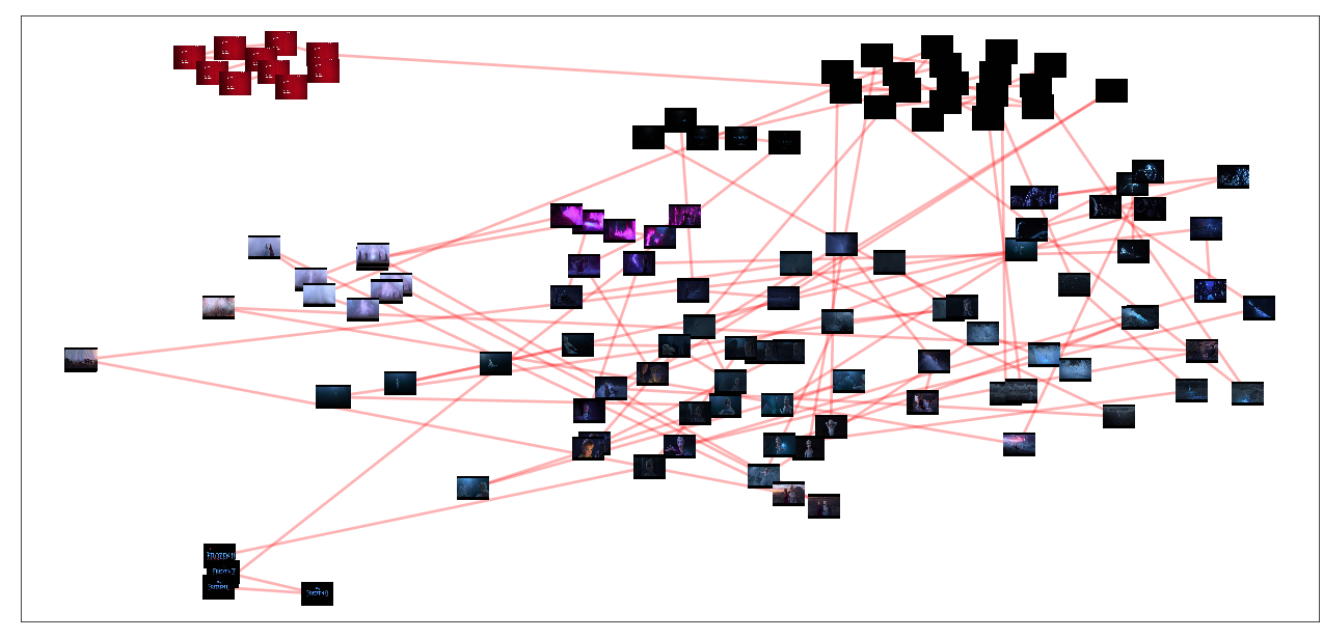
This trick distances images that are far apart in time in a video. Something that only makes sense when working with a single video.
Summary
The goal was to implement video support for platform.ai. We were facing the challenges of having to deal with higher file sizes and somehow transforming the time dimensionality of video into something useful. To achieve this we split each video into key frames represent sections to display them in known platform style. While making predictions on individual frames makes predicting and labelling of multiple batches at once easy, it has a big limitation. As this approach doesn’t consider temporal features, detection of movement that requires information of multiple frames is not going to work.
An advantage of this approach is that we can also train on images and get predictions for videos and vice versa.
When this goes into production we should look how this is used and if users want to cut cost we can adjust the threshold resulting in fewer key frames to run inference on although this would make it more difficult to get accurate results.
Next Steps
RNNs to predict motion
Using a recurrent neural network, like an LSTM, actions could be detected. But at the time of writing there is no established method that works well.
Test rolling mean
Using a rolling mean could give better results especially for longer videos with very different sections in terms intensity of movement. This requires some testing of parameters tho.
Have a video preview when hovering over frame
To give an idea what a frame is representing a short part of the video could be played in the frame when hovering over with the cursor.
Work with temporal features
Explained in the experiment section of this blog. Ways to realise this for multiple videos have to be researched.
Adaptive key frame number as a user option or inferred
As of this moment we choose keyframes so that we lose as little information as possible. In some cases changing this could be useful but would also add more decisions to make for the user.
